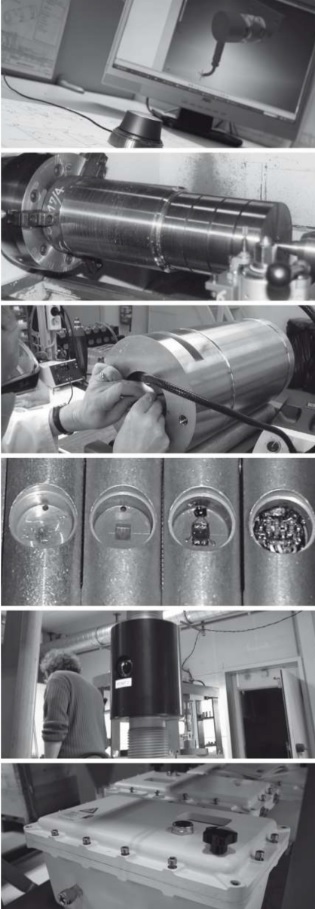
FEATURES: LOAD CELL
Given that a great majority of load cells use strain gauges as a detecting element, this provides them with a set of nominal and metrological characteristics. The latter are introduced in the dynamometer calibration section on this website. The main nominal characteristics defined in connection with the use of a load cell are described below.

Applied forces
The nominal force
is that of the normal use of the transducer. A 10% variation in this load should not affect the calibration’s validity.
The maximum safe load limit
is the force that can be applied to the load cell without permanently altering its capacity to measure forces. The conservation of calibration results is not guaranteed for this load and usually cannot exceed 130% of the nominal load.
The breaking load
is what causes the proof body to break because the strain is higher than the maximum tolerated by the material constituting the proof body.
Sensitivity
The sensitivity of the load cell
is the existing ratio between the voltage released and received by the load cell, which is loaded at the nominal force. It is expressed in mV/V which represents the maximum strain applied to the proof body. The lower the sensitivity, the weaker the level of strain applied to the transducer, and the better its metrological characteristics will be retained.
Sensitivity values
often range between 1.5 and 4 mV/V. A linear load cell translates into a constant sensitivity. For this to happen, the proof body must have certain specific characteristics not found in a simple cylindrical rod generating slightly non-linear strains.
Effect of temperature
Temperature affects the main elements constituting a load cell:
It modifies the elasticity of the proof body
This variation has a relative value of approximately 0.1% by degree for steels.
It modifies the electric resistance of strain gauges
The effect of temperature can be reduced by incorporating components to the strain gauges to induce a variation opposite to that caused by temperature in the measurement circuit. It is thus possible to reduce this influence by a factor higher than 5. But these compensations are generally only effective within a certain temperature range, which means that several temperature ranges should be considered. The reference temperature is that for which the metrological characteristics of the load cell have been established. It is currently determined at 20°C, which is the same as for all mechanical metrology fields.
It affects the compensated temperature range
on which the characteristics of the transducer are actually determined.
It affects the service temperature range
at which the load cell can be used, without a guarantee that the metrological characteristics of the transducer will be respected, but without the loss of its nominal characteristics.
It affects the storage temperature range
beyond which there is a proven risk of the permanent loss of the nominal characteristics of the load cell.
Finally, the effect of temperature on the load cell is represented by 2 ratios:
Temperature-coefficient of the load cell sensitivity
describing the variation in the sensitivity of the transducer according to temperature. It is expressed in % of the value measured and in °C.
Temperature coefficient of zero signal
describing the variation of the signal supplied by the load cell when no load is applied under the influence of temperature. It is expressed in % of the transducer measurement range and in °C.
NOTE : Spanish version /en/tecnologia/sensores-de-fuerza/celda-de-carga
